Tuesday, February 28, 2012

Old Layouts

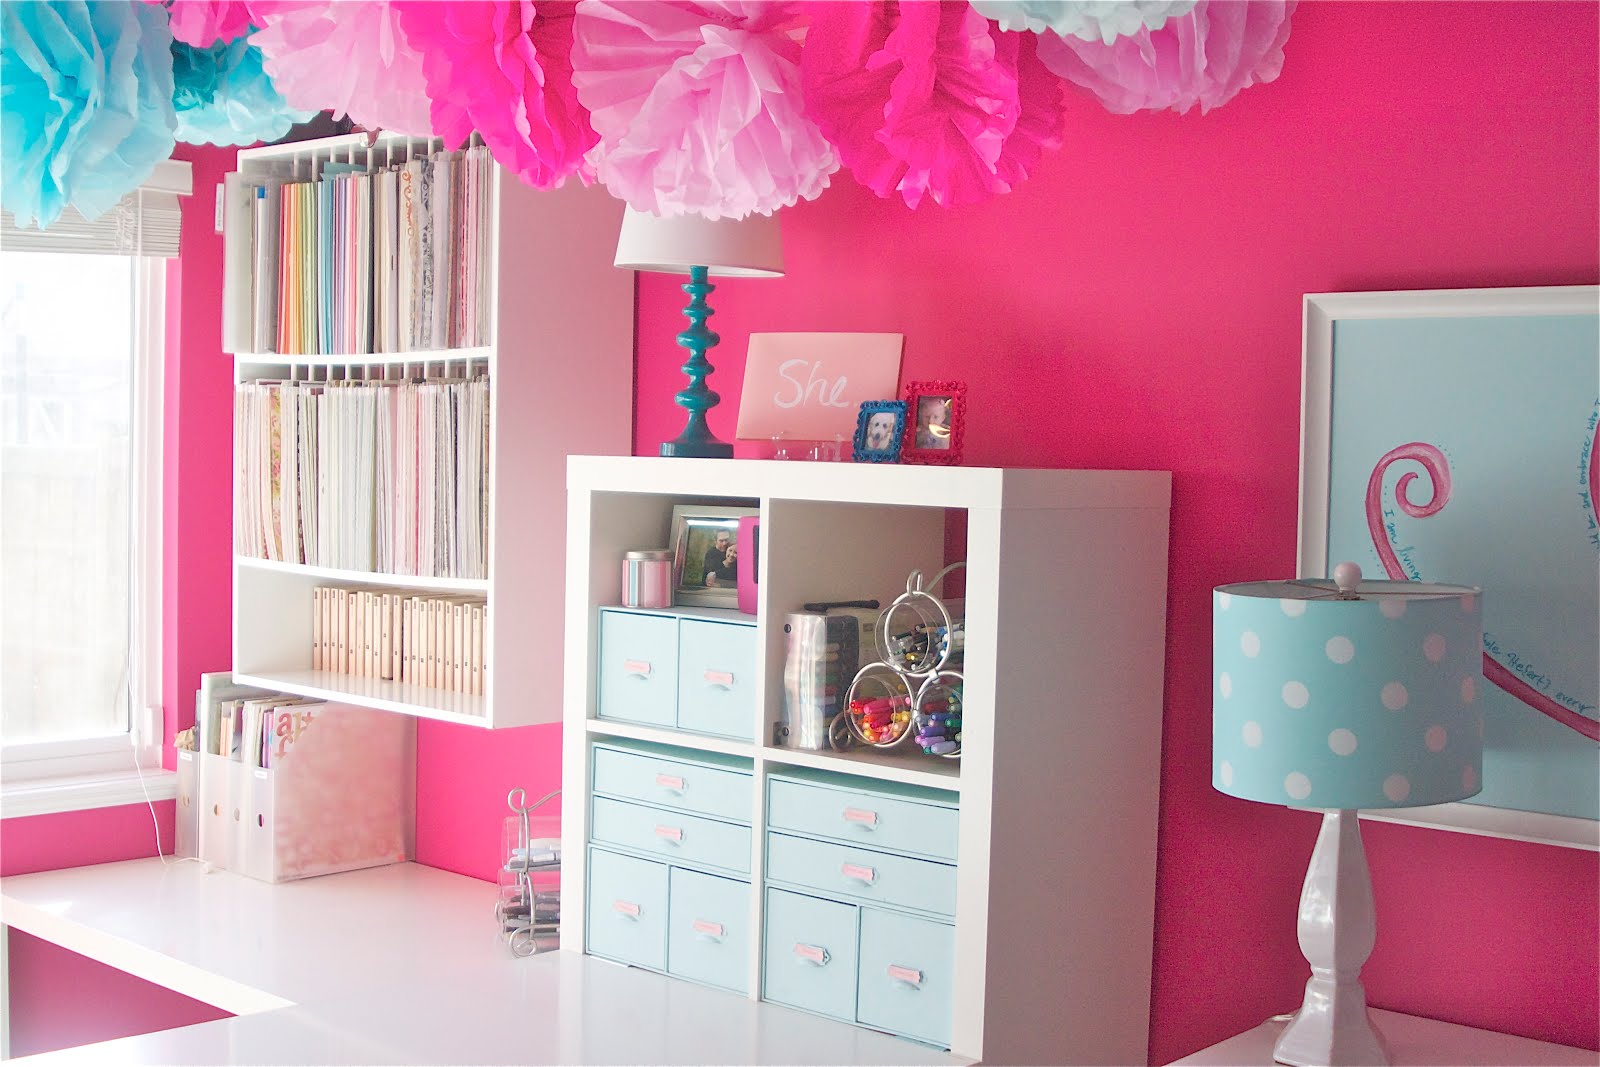
Today was my art day. I am lucky enough to be married to the most wonderful man in the world; he gives me these days where all I have to do is breastfeed and the rest of the time I get to PLAY in my art room. It's heavenly when it's an art day.

But, today I had to spend my art day mostly doing prep for an upcoming scrapbooking retreat I am going to. The reality of my wonderful hobby of scrapbooking is that it requires a TON of time in taking photos, editing photos, printing photos, organizing photos...then I need to prep all those photos with patterned papers so that I won't have to lug all of my paper to the retreat. Is all this work worth it?? OH YEAH! No hesitation there.

Nonetheless, I just realized that I don't think I've shared many of my layouts with you lately...so here are a few that I've done of the last number of months...enjoy! OH, and sorry for the really crappy pictures...hopefully you get the idea ;)

Also, a little note about this...You know, the process of photographing your own layouts is really insightful. After a while, all my layouts start to look the same to me...I start thinking, oh, no one will like these, they're so boring! That's because they all have similar elements to them...when describing my "style," I've come to learn that I can say the following:
- I'm linear usually. I like my pictures straight.
- I definitely follow the rule of a visual triangle.
- I choose my papers and embellishments based on colour in my pictures.
- I try to evoke an emotion with every layout esp through titles and journalling.
- I like handwritten journalling and letter sticker titles usually.
- Paper strips and horizontal lines anchor my pages.
- If I use a patterned background, I settle it with solid matting. If I use a solid background, I jazz it up with patterned accents.
- Circles are one of my best friends.
- I like photo blocking and often have my photos touching each other.

What's your list?? What have you discovered about your layouts or cards or art? What defines YOUR DESIGN STYLE?


This layout and the one below are very similar - a block of pictures with a border on stop of a patterned background. I used stickles along the border on each of these - so fun!


I cut a metal frame by making memories in half to create two large photo corners.


I put a border with a heart around this photo just with a black pen and my own hand!


Used fun star stamps on this layout :) Need to use more stamps!


Creating little borders with lines of decorative brads is one of my go-to techniques.


I love acrylic flowers and fun pretty already made butterflies.


Again, circles are my friend...


Thanks for looking!


Friday, February 17, 2012

A House Isn't A Home...


Decorating is SUPER FUN. Having a beautiful, nice, clean, great house is also super fun. But, it all MEANS NOTHING is there isn't LOVE filling the space.

All the house-eye-candy in the world is worthless without a peaceful loving family inside.

The other day I was cleaning while Evalie was playing on the floor. Lately, I only get to have her awake for literally about 8-10 hours of the day; the rest of the time she's asleep (I think holding our hands and walking around is really making her tired!) It would be easy for me to just let her happily play by herself while I clean and tidy and do other "important" tasks...but something hit me: I will NEVER get to enjoy her this little again.

She's only getting bigger, bigger, bigger.

She'll only want to cuddle for a little while longer. She'll only demand my hands to hold her while she walks for a little while longer. She'll only beg for breastfeeding for a little while longer. She'll only be a BABY for a little while longer. They grow up so fast.

I put down my cleaning, I put away the tasks and I sat down and got on the floor and played with my baby. I looked at her, I smelled her, I kissed her (and she kissed back). We nuzzled, we laughed, we cuddled, and we BOTH GREW, we BOTH learned, we BOTH were blessed.

What a gift. Dishes, laundry, floors: you'll still be there tomorrow!


(Professional Photos by Lara of Red Wagon Photography, Abbotsford BC)

Monday, February 13, 2012

Scrapbooking HEAVEN


I am sooooooooo lucky to have always had my own scrapbooking room! My hubby has generously sacrificed so that I could always enjoy a little bit of heaven in our house...I think it's mostly because he knows that my sanity is on the line ;) However, I've always "had" to share my art space with the guest room...so it's always "had" to be tidied whenever we have guests...which is a pain. These pictures are actually the FIRST and likely the ONLY time this room will ever be tidy! It's lovely...but usually it's very messy - after all, it's where I do my wild creating!!!

The before picture really isn't representative of all the work we did. This room wasn't an awesome pink ("Peony" by Benjamin Moore) - it was a true primary purple colour. It also didn't have all this furniture in it (obviously) - these Ikea Expedit shelves were all upstairs in what's becoming our front sitting room; the previous owner had them all stacked to create a homeschooling area for her kids. We purchased these pieces with the house hoping to use them just for this little room :)


So...on to the fun stuff (ps sorry for the random centering...I can't seem to get blogspot to cooperate and center everything properly)!


This room is a small bedroom in our basement. Fortunately, however, it's ground level and FULL of light, which I totally need! I decided on the bright colour scheme of pink and teal, inspired by something I saw on pinterest. SUPER girly, and SUPER wild, but I really love it!


I made these tissue pom poms and strung them on ribbon to create huge fun garlands all over the ceiling. If you want to make pom poms yourself for a room or for a party, just check out http://www.marthastewart.com/how-to/tissue-paper-pom-poms-how-to - super easy! It makes the ceiling feel a bit low, but I love it anyway! I love how it's like a PARTY in my art room every day :)


This dresser and painting are the first thing you see when you walk into my art room. I was inspired by a Starbucks mug to paint the heart as it is...and then I wrote quotes from a WONDERFUL book by Brene Brown called The Art of Imperfection (check her great blog out here: http://www.ordinarycourage.com/) I wanted to be reminded of the WholeHe{art}ed living I had learned about from her...she also has a great Ted Talk here: http://www.ted.com/talks/brene_brown_on_vulnerability.html - check her our for major inspiration (thank you Krystal and also Tara-Lynn for sharing Brene with me)!


These are (most of) my stamp sets hiding behind the door...they're all organized in DVD sized cases from Stampin Up! I unmounted all my wooden stamps to be versatile enough to use on a clear block and store flat. I organize them by topic...I did a whole blog post on this a while ago here: http://scrap-therapy.blogspot.com/2010/02/organizing-is-fun.html I can't believe how many more stamps I've accumulated - LOVE STAMPS!!!!!! Love that one little DVD holder can house HUNDREDS of them!!!! Ever need to borrow a stamp??? Just ask!


I used three expedit shelves that came with our house to create this big storage wall to your left when you walk in. It was so hard to find containers for all my stuff that would fit on these shelves! Your typical 14"X14" container that I had a million of are too big for the square cubbies...so I found these at walmart and put them to use. I again went crazy with making labels on my cricut and am pretty happy with the results - organized, put away, but reachable and available.


I found these big poster frames on clearance at Ikea for only $8 and they worked perfectly for my Compendium wrapping papers...I love those papers so much that I want to read them and see them and frame them as art! I love how cheap it was for me to have BIG BEAUTIFUL inspiration on this wall :)


A couple pics of my girls :) And, of course, a compendium book!

Love seeing paper all colour coordinated and in a row...yummy!!!


A bit of my "E" collection on top of the plate rack used as paper storage. I've been using this plate rack for a long time - it's originally from Ikea, but discontinued. It's bowing pretty bad, but holds the paper to the wall and frees up floor space.


I used wine racks and dollar store vases as pen storage...it's so important to always make sure your felt pens are HORIZONTAL...that way the ink stores evenly :) I love wine racks - they're so pretty (but I don't drink wine...lol!)


These drawer-boxes used to be in our office space, and I just painted them teal and added pink labels...these store my quick-needs like scissors, adhesives and hole punches.


I used garden containers that I found on clearance last fall at Homesense (got two of them in two different sizes for only $13!!!) to house all my punches. I was going to try to hide them away in a drawer or something, but they're so heavy that this worked better. My other idea was to put them on the wall, but I ran out of wall space, because I covered it in art instead ;)


This is the closet! We took off the doors, took down the clothes shelving, and had Tim our finisher friend custom build durable shelves to hold my computer, oversized printer, cricut, sillouette, and travel cases...I LOVE THIS AREA! I also found a nifty little lamp at ikea (see it? top right shelf) that is flexible so I can shine light on whatever I need inside the closet...woop woop! Opinion: do you think I should add curtains around the closet??? Lemme know what you think :)

TFL!!!!!!

Sunday, February 12, 2012

Laundry Room

This was the NIGHTMARE room for me! To redo this room, I had to call in the troops...well, ONE troop...a real trooper in deed ;) Stefanie Westerburg from LaMode Designs (www.lamode-design.com). She helped me take a room that was totally terrifying, and make it into a room that I actually don't MIND spending time in.

Here's the BEFORE picture (dum dum da dum...):


Do you see why I was so intimidated!? I mean, that's BAD! No walls, no ceiling, not even a complete FLOOR...AAAK! Can you really call that a "room"?? Help, Stefanie, help!

We poured a TON of time and resources into this room. I have to say, probably the MOST annoying aspect of designing my laundry room was hearing people say, "Oh, don't worry about that (detail)...it's JUST a laundry room." Seriously!? Do you have any idea how much time I have to spend in this room?! I am in and out of this room so many times a day it's not even funny (really...not funny...) Life is too short to spend THAT much of it in a room that's literally SCARY (are there spiders falling from the non-existing ceiling?!) All that to say, I wanted it to be an inviting, happy, energizing, clean, organized, functional space.

Yes, ALL THESE THINGS:
inviting
happy
energizing
clean
organized
functional.

I'd say we accomplished that :) Now, on to the details...that MATTER...

The overall affect of the room was greatly enhanced by adding better light (thank you to our brother Darryl, the electrician!) and pops of colour. The cabinets are from Ikea (thank you to my sister and her hubby for assembling them for us!) I chose the brushed metal and frosted glass to keep an open feel to the room...it was so important that this tiny space didn't feel boxed in. But, I didn't want shelving instead of cabinets because I still like to be able to put things AWAY and have them behind closed doors.


To create a faux ceiling, but not put up drywall (that would result in an extremely small, boxed in, low, bumping-my-head-on-it finish) we used tension rods and cotton fabric. Love the way the lights can drop down, and how the white makes it feel light and airy.


This is one of Tim's creations: a lovely, beautiful, functional, big shelf hidden behind the door when you walk in (to your right). It's sturdy and will NEVER bow, and the floor of it is a small "deck" that finished off the flooring, where there was only concrete. We painted it white to keep everything bright.


I put three baskets on top of the washer and dryer to cover up the ugliness of all the pipes behind the machines. They also function to hold the mending, ironing, and crap that piles up in here and needs to be put away! I got this idea of the three baskets from this site: http://www.imperfecthomemaking.com/ I changed it up a bit to meet my needs, and I love the result. It also gave me a way to bring in some more colour.


Those furnace/heaters/pipes are really an eye sore! But, they needed ventilation and accessibility, so we came up with using a screen that I already had laying around (I'd used it as a headboard, room divider...oh so many things over the years!) I bought cheap fabric and sewed (yes, I sewed...it doesn't happen often) sheets to tie on with ribbon...then I added a few little silk flowers for accents. I think it's kinda cute!


This rug was a super great find! I was so excited when I came across it at Target and it perfectly brought in all my colours for under $10! Woo hoo!


I made this canvas using only scraps from my scrap bin, some leftover paint from another project, my big shot to die cut the butterflies, and a little ink to line the edges. I finished it all off with modge podge and love the result! My hubby thought it was really funny that I made ART for the laundry room...he thinks that's a little over the top. I think it's a room that needs beauty! Also, you'll notice the bead board (aka "wainscotting") behind the canvas...Tim installed that all around the room to finish it off without having to drywall - love love love it!


Oh, I should probably mention our awesome new machines. We weren't actually going to buy new machines just for fun...my old washing machine was RUINING our clothes and was full of rust. Also, our dryer didn't actually work anymore...it stopped using heat. Woo hoo. So, we caught a last minute boxing week sale after Christmas and got these: http://www.maytag.com/other-assets/en_US/maxima_laundry_pair/ I chose them because I loved the steaming options, the stain removal settings (which totally work!), and the awesome pedistals (which, even though we measured, when they came in to install them, the cabinets were too low...sadness...) We're so happy with them and love how the white keeps everything clean, fresh, and bright.


I went crazy with making labels in teal and yellow...I wanted a home for everything and everything in its home! Mission accomplished.


Thanks for looking, friends! Come and visit my laundry room IRL ;)


Related Posts Plugin for WordPress, Blogger...